 Save
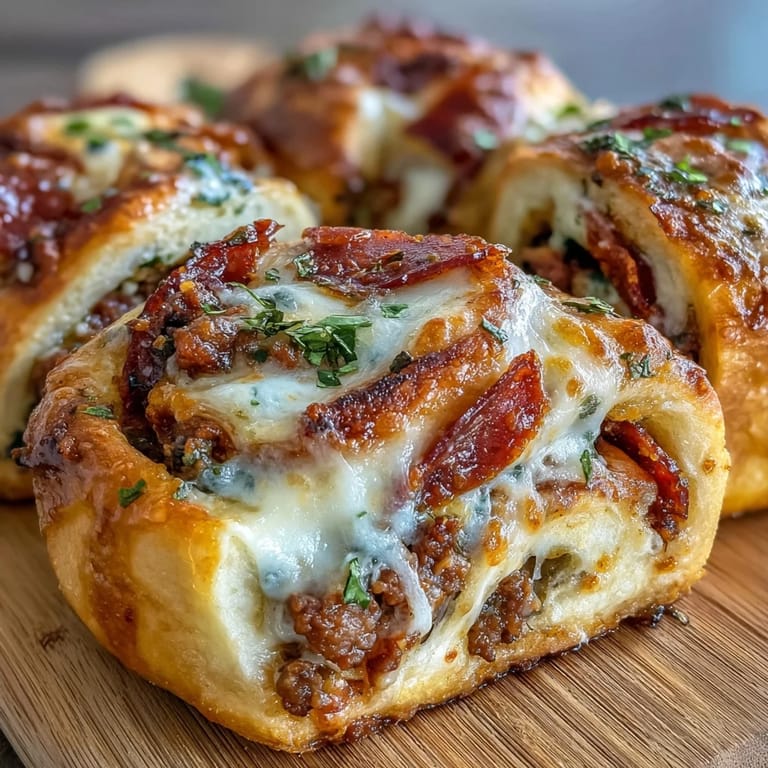
Save There's a particular kind of hunger that hits around three in the afternoon, the kind that makes you reach for something filling but not too heavy. I was rummaging through my fridge one Tuesday when I spotted leftover Greek yogurt and a package of pepperoni, and suddenly I was kneading dough instead of ordering takeout. The kitchen smelled like a pizzeria within twenty minutes, and I realized I'd stumbled onto something I'd be making every week from then on.
I brought a batch to a potluck once, still warm in a covered dish, and watched them disappear before the main course even hit the table. My friend's ten year old asked if I owned a pizza shop, which felt like the highest compliment I'd received in months. Since then, I've made them for road trips, late night study sessions, and those evenings when cooking feels impossible but cereal feels wrong.
Ingredients
- Plain Greek yogurt: This is what makes the dough both high in protein and impossibly tender, use full fat if you want extra richness but nonfat works beautifully too.
- Self rising flour: The leavening is already mixed in, which means no hunting for baking powder at the back of your cupboard, and if you don't have it, the substitute in the notes is foolproof.
- Egg: Adds structure and a subtle richness to the dough, helping it hold together when you roll and slice.
- Garlic powder and salt: These season the dough from within so every bite has flavor, not just the filling.
- Lean ground beef: Keeps the protein high and the fat low, and it browns up with a savory depth that pepperoni alone can't match.
- Turkey or beef pepperoni: The classic pizza flavor that makes these rolls instantly familiar and craveable.
- Part skim mozzarella: Melts into gooey pockets without making the rolls greasy, and it stretches beautifully when you pull them apart.
- Pizza sauce: Use your favorite jarred variety or leftover homemade, it adds moisture and tangy sweetness.
- Italian herbs and black pepper: A simple blend that brings warmth and aromatic depth to the beef.
- Olive oil and Parmesan: Brushed and sprinkled on top, they create a golden, savory crust that crackles slightly when baked.
Tired of Takeout? 🥡
Get 10 meals you can make faster than delivery arrives. Seriously.
One email. No spam. Unsubscribe anytime.
Instructions
- Preheat and Prep:
- Set your oven to 400°F and line a baking sheet with parchment so the bottoms don't stick and cleanup stays easy. This temperature gives you a golden top and fully cooked center without drying out the dough.
- Brown the Beef:
- Cook the ground beef in a nonstick skillet over medium heat, breaking it into small crumbles as it browns. Once no pink remains, drain any excess fat, stir in the pepper and Italian herbs, then set it aside to cool so it doesn't melt the cheese prematurely.
- Make the Dough:
- In a large bowl, combine Greek yogurt, self rising flour, egg, garlic powder, and salt, stirring until a shaggy dough forms. Turn it out onto a floured surface and knead gently for two to three minutes until it feels smooth and slightly elastic.
- Roll It Out:
- Use a rolling pin to shape the dough into a rectangle about 12 by 10 inches, aiming for even thickness so the rolls bake uniformly. If the dough sticks, dust lightly with flour but don't overdo it or the texture will turn dense.
- Add the Sauce:
- Spread pizza sauce evenly over the dough, leaving a half inch border around the edges to prevent overflow when you roll. This border also helps the seam seal neatly.
- Layer the Filling:
- Scatter the cooked beef, pepperoni slices, and shredded mozzarella evenly across the sauced dough. Distribute everything as uniformly as possible so each roll gets a balanced bite of meat, cheese, and pepperoni.
- Roll and Slice:
- Starting from one long edge, roll the dough tightly into a log, keeping the filling tucked in as you go. Use a sharp knife to slice the log into twelve equal pieces, wiping the blade between cuts for clean edges.
- Arrange and Top:
- Place the rolls cut side up on the prepared baking sheet, spacing them slightly apart. Brush the tops with olive oil, then sprinkle with Parmesan and dried parsley or Italian herbs for extra flavor and color.
- Bake Until Golden:
- Slide the pan into the oven and bake for 18 to 22 minutes, watching for golden brown tops and bubbling cheese. The rolls should feel firm to the touch and smell irresistibly savory.
- Cool and Serve:
- Let the rolls rest on the pan for a few minutes before transferring to a plate. This brief cooling time lets the cheese set slightly so they hold together when you pick them up.
 Save
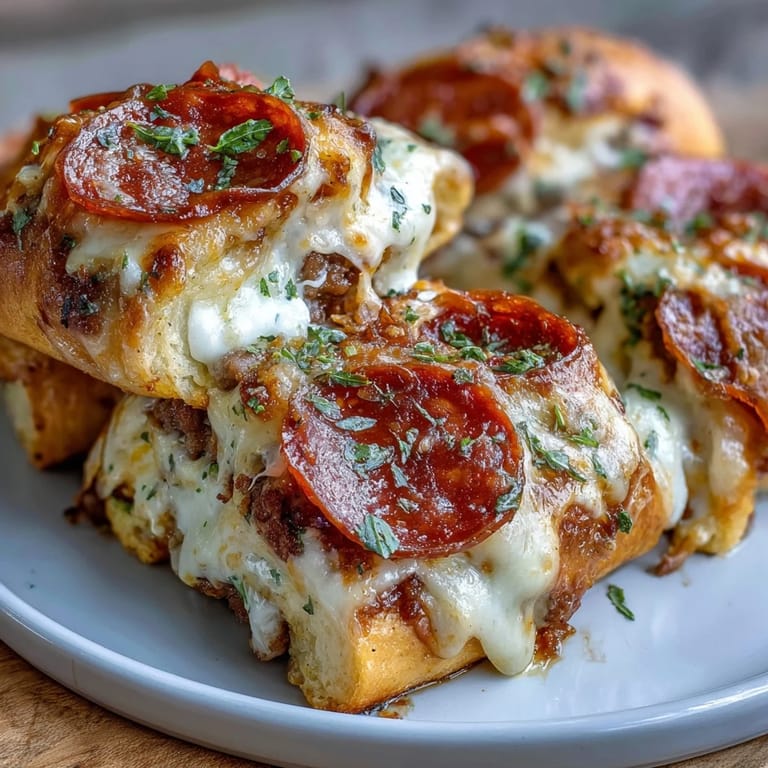
Save The first time I packed these for lunch, a coworker leaned over and asked if I'd ordered delivery. When I told her I'd made them that morning, she looked genuinely surprised, as if homemade couldn't possibly taste this good or come together this quickly. That moment reminded me why I love recipes like this, they blur the line between convenience and care.
Storing and Reheating
These rolls keep in an airtight container in the fridge for up to four days, and they reheat beautifully in a 350°F oven for about eight minutes. I've also frozen them in freezer bags, pulling out one or two at a time and reheating from frozen for ten to twelve minutes. The texture stays soft and the cheese melts all over again, which makes them perfect for grab and go mornings or late night cravings.
Customizing the Filling
Once you've made these a few times, the filling becomes a blank canvas for whatever you're craving or have on hand. I've swapped the beef for ground turkey, added finely diced bell peppers and spinach, and even tried a white pizza version with ricotta and garlic. The dough is forgiving and the method stays the same, so you can experiment without fear of failure.
Serving Suggestions
I like to serve these with a small bowl of extra pizza sauce or marinara for dipping, and a simple side salad with vinaigrette to balance the richness. They're also fantastic on a platter for game day or movie night, especially when you add a variety of dipping sauces like ranch, garlic aioli, or even a spicy sriracha mayo.
- Pair with a crisp green salad and balsamic vinaigrette for a light, balanced meal.
- Serve alongside marinara, ranch, or garlic butter for dipping.
- Pack them in lunchboxes with baby carrots and hummus for a satisfying, protein packed midday boost.
 Save
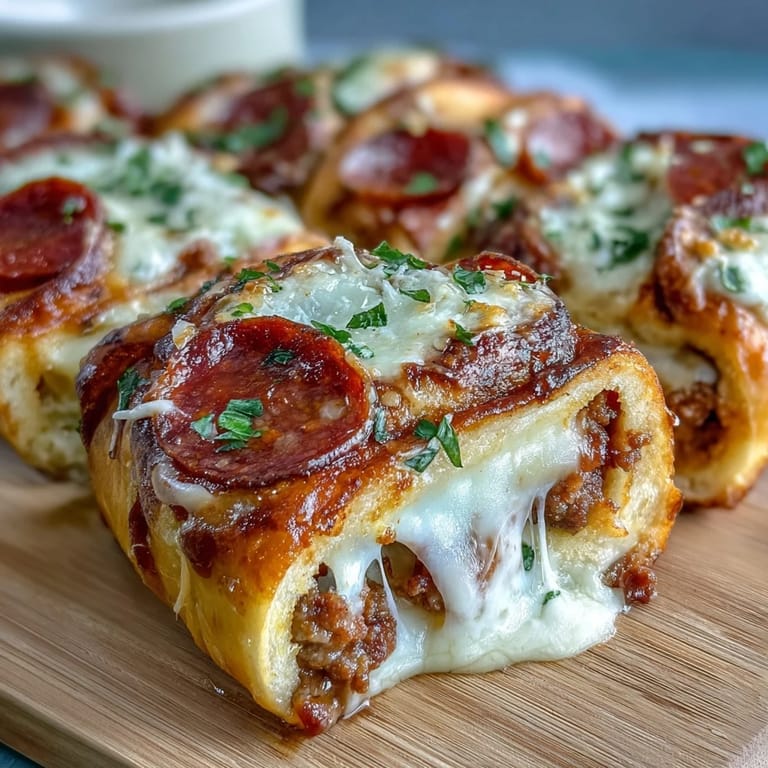
Save These rolls have become my answer to so many kitchen dilemmas, quick lunches, hungry teenagers, meal prep Sundays, and those moments when you want something homemade without the fuss. I hope they bring the same kind of easy joy to your table that they've brought to mine.
Recipe FAQs
- → How long do these pizza rolls stay fresh?
Store cooled rolls in an airtight container in the refrigerator for up to 4 days. For longer storage, freeze individually wrapped rolls and reheat at 350°F for 10-12 minutes.
- → Can I make the dough ahead of time?
Yes, prepare the dough and store it wrapped in plastic wrap in the refrigerator for up to 24 hours before rolling and filling. Let it come to room temperature for easier handling.
- → What can I substitute for self-rising flour?
Mix 2 cups all-purpose flour with 3 teaspoons baking powder and 1/2 teaspoon salt. This creates an equivalent self-rising flour blend for the dough.
- → Are these rolls freezer-friendly?
Absolutely. Freeze baked rolls in a freezer-safe bag for up to 3 months. Reheat directly from frozen at 350°F (175°C) for 10-12 minutes until heated through.
- → Can I add vegetables to the filling?
Yes, finely chopped bell peppers, spinach, or mushrooms work well. Sauté them with the beef to remove excess moisture before adding to the rolls.
- → How do I prevent the rolls from getting soggy?
Drain excess fat from the cooked beef and slightly cool the filling before assembling. Leave a small border around the dough edges when spreading sauce to prevent leakage during baking.