 Save
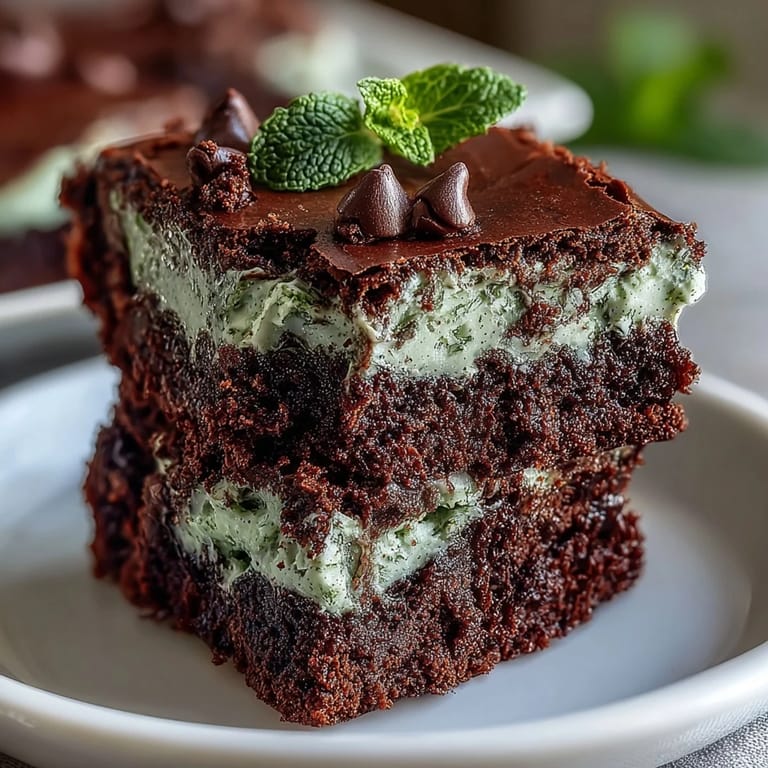
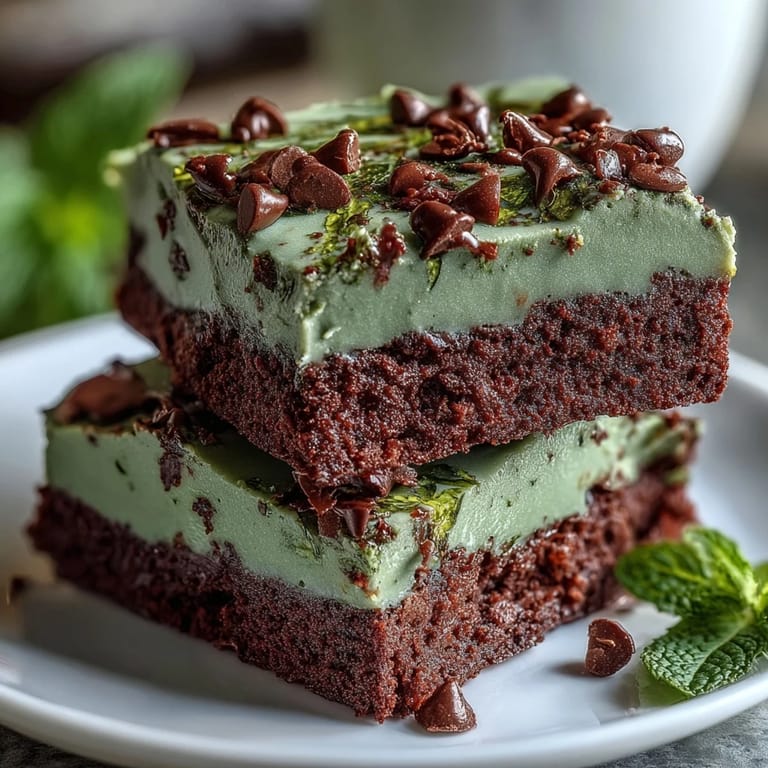
Save My kitchen smelled like a chocolate shop collided with a candy cane factory the afternoon I first made these brownie bites. I'd been scrolling through party ideas for St. Patrick's Day when it hit me—why settle for the same green cookies everyone brings when you could show up with something genuinely indulgent? The combination felt wild at first, mint and chocolate in brownie form, but one taste proved it was exactly what I'd been craving all along.
I brought these to a St. Patrick's Day potluck last year where everyone showed up with the same tired green punch and plastic beads, and these little bites absolutely stole the show. Someone actually asked if I'd bought them from a bakery, which felt like a tiny victory in my kitchen. The way they disappeared before anything else on the dessert table told me I'd stumbled onto something worth keeping in the regular rotation.
Ingredients
- All-purpose flour (3/4 cup): Gives structure without heaviness—you want these bites to be fudgy, not cakey, so don't sift obsessively or you'll tighten the crumb.
- Unsweetened cocoa powder (1/2 cup): The foundation of richness here; skip the Dutch-process if you want deeper chocolate flavor, though either works beautifully.
- Baking powder (1/2 tsp): Just enough lift to keep them tender without making them rise too much in the pan.
- Salt (1/4 tsp): This tiny amount wakes up the chocolate and mint flavors in ways you won't be able to name but will definitely notice.
- Unsalted butter (1/2 cup, melted and cooled): The cooling step matters—warm butter can cook your eggs, and cold butter won't blend smoothly, so aim for lukewarm.
- Granulated sugar (1 cup): Creates that shiny, slightly crackled top when baked; don't swap for brown sugar unless you like cakey brownies.
- Large eggs (2, room temperature): Room temperature eggs blend easier and give you a better texture—cold ones fight the batter.
- Pure vanilla extract (1/2 tsp): Cheap vanilla extract will taste tinny next to the peppermint, so spend a little extra here.
- Peppermint extract (1/2 tsp): This is your wild card—it's strong, so resist the urge to double it or your mint will overpower everything else in the pan.
- Green food coloring (2–3 drops, optional): Makes them feel festive without being over the top; you can skip this entirely if you prefer natural brownie brown.
- Mini chocolate chips (1/2 cup plus more for topping): Mini chips distribute better than regular ones and hit you with chocolate in every bite without being overwhelming.
- Chopped Andes mints or mint chocolate pieces (1/4 cup, optional): These add bursts of flavor and texture; if you can't find them, crushed candy canes work in a pinch.
Tired of Takeout? 🥡
Get 10 meals you can make faster than delivery arrives. Seriously.
One email. No spam. Unsubscribe anytime.
Instructions
- Set the stage:
- Preheat your oven to 350°F and prepare your mini muffin tin—grease it well or line with liners so they slip out without drama. This is the moment to get your mise en place sorted because the mixing happens fast once you start.
- Combine the dry team:
- Whisk flour, cocoa powder, baking powder, and salt together in a medium bowl until everything looks evenly distributed and there are no cocoa lumps hiding. This step prevents you from finding pockets of unmixed cocoa powder later, which nobody enjoys biting into.
- Build the wet base:
- In a large bowl, whisk the melted butter and sugar together until they're noticeably lighter in color and slightly fluffy—this takes about a minute of real whisking, not lazy circling. Add your eggs one at a time, whisking well after each one so they integrate into the mixture rather than sitting on top as yellow streaks.
- Add the extracts and color:
- Pour in the vanilla and peppermint extracts while whisking, and add your green food coloring if using—the batter should smell intoxicating at this point. Make sure everything is blended smoothly before you move to the next step.
- Marry the wet and dry:
- Fold the dry ingredients into the wet mixture gently using a spatula, stopping as soon as you don't see streaks of flour anymore. Overmixing at this point creates dense, tough brownies, so resist the urge to go full chef and get fancy with it.
- Add the good stuff:
- Stir in the mini chocolate chips and chopped Andes mints, distributing them evenly so every brownie bite gets chocolate and mint love. The batter should look speckled and delicious at this point.
- Fill the pan:
- Divide the batter among your mini muffin cups, filling each about 3/4 full—this gives them room to rise slightly without overflowing. A small ice cream scoop makes this stupidly easy and guarantees even portions.
- Final touches and bake:
- Sprinkle extra chocolate chips on top of each bite for visual appeal and bonus chocolate moments. Bake for 13–15 minutes, checking around the 13-minute mark by inserting a toothpick into the center of one—it should come out with just a few moist crumbs clinging to it, not wet batter.
- Cool with patience:
- Let them rest in the tin for 5 minutes so they set enough to handle, then transfer them to a wire rack to cool completely. This resting period prevents them from falling apart but still lets them finish cooking gently from residual heat.
 Save
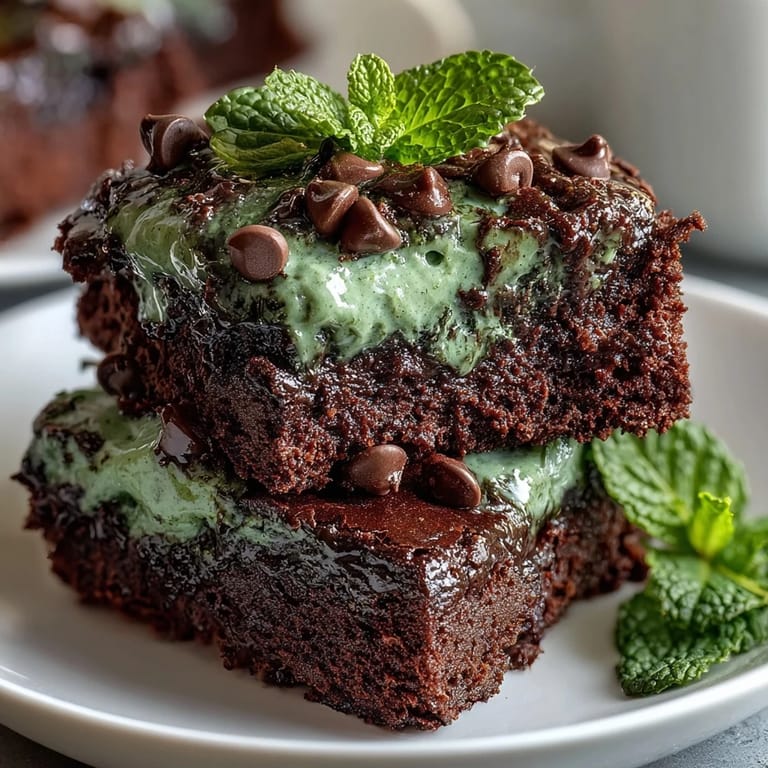
Save There's something special about watching someone bite into one of these and realize mint and chocolate actually belongs together, like they've been missing out their whole lives. These brownie bites turned a simple potluck into a conversation, which is more than most desserts manage.
Storing and Making Ahead
These bites keep beautifully in an airtight container for up to five days, though they rarely last that long in my kitchen because everyone keeps sneaking them between meals. You can also bake them a day ahead and keep them covered at room temperature, which actually lets the flavors meld slightly—they taste even better the next day. For longer storage, freeze them in a single layer on a baking sheet, then transfer to a freezer bag for up to two months and pop them back to room temperature whenever a craving hits.
Customizing Your Batch
The beauty of this recipe is how flexible it is once you understand the basics—you can swap in crushed candy canes for the Andes mints if that's what you have, or skip them entirely for a pure chocolate-mint experience. Want more mint flavor? You can push the peppermint extract to 3/4 teaspoon, but taste the batter first to make sure it doesn't get overwhelming. White chocolate chips mixed in with the regular ones create a lovely visual contrast and balance the intensity of the cocoa, which is worth trying once you've made these the traditional way.
Why This Recipe Works Every Time
The formula here is foolproof because the ratio of wet to dry ingredients is tested and true—you're essentially making the best fudgy brownie base and then adding festive personality to it. The mini muffin tin is actually genius for this because smaller portions mean faster, more even baking with less risk of dry edges and gooey centers. Room temperature ingredients and proper cooling times handle the rest, turning what could be a finicky dessert into something even a nervous baker can nail.
- If you don't have a mini muffin tin, you can bake this in a regular muffin tin and just increase the baking time by 2–3 minutes.
- Accidentally added too much peppermint extract? Mix up a fresh batch of batter without it and combine half and half for a milder flavor.
- These are naturally vegetarian, though they do contain eggs, butter, and milk in the chocolate, so check your dietary needs accordingly.
 Save
Save These St. Patrick's Day mint chocolate chip brownie bites prove that sometimes the best party food is the thing nobody else thought to make. Bring them to your next gathering and watch them disappear faster than you'd expect.
Recipe FAQs
- → Can I omit the green food coloring?
Yes, the green color is optional and does not affect the flavor of the brownie bites.
- → What is the best way to enhance the mint flavor?
Increasing the peppermint extract slightly will boost the mintiness without overpowering the chocolate.
- → Can I substitute Andes mints with other mint chocolates?
Absolutely, you can use any mint-flavored chocolate bars or skip them for a classic mint chocolate chip taste.
- → How should the brownie bites be stored?
Store in an airtight container at room temperature for up to 5 days to maintain freshness and texture.
- → Are these brownie bites vegetarian-friendly?
Yes, the ingredients used are suitable for a vegetarian diet.
- → What is the baking time for these bites?
Bake for 13 to 15 minutes until a toothpick comes out mostly clean, leaving some moist crumbs for fudginess.