 Save
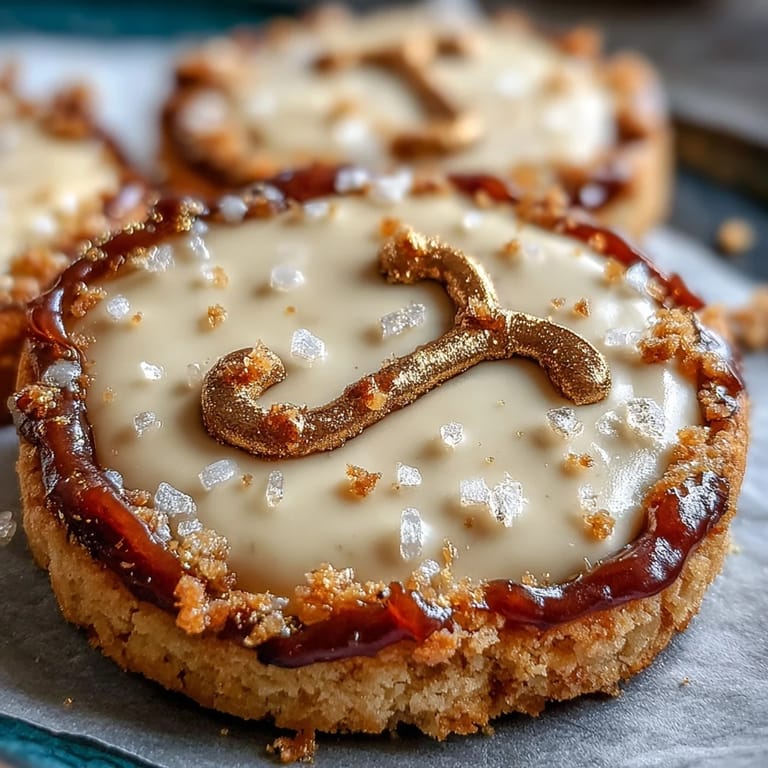
Save The gentle thud of the rolling pin against the counter signaled an afternoon well spent, coaxing out a batch of Taurus zodiac cookies on a rainy spring day. The scent of vanilla and almond mingled with flour dust as sunlight flickered through the window, momentarily glinting off the jar of edible gold luster dust I'd pulled down for the occasion. This recipe began as a whim—what could be more decadent than stargazing and buttery treats in the same box. A little kitchen alchemy and a well-loved celestial cookbook brought the Taurus cookie box to life. Every bite seems to hold a playful promise of comfort and celebration, even before the icing brush adds its golden final touch.
The first time I boxed up these cookies was for my sister's birthday, her stubborn Taurus heart immediately winning over the whole family's sweet tooth. She giggled while reading her star chart as I anxiously brushed golden horns onto each cooled cookie, hoping the details would impress. There was a moment when we debated if the constellation should have one more star, and it turned into a mini stargazing lesson right at our dining table. That memory is pressed into every Taurus cookie I make now, side by side with a sense of shared humor and delight.
Ingredients
- All-purpose flour: Key to a tender crumb; I always fluff and spoon it to measure accurately, ensuring light cookies.
- Unsalted butter: Using good, softened butter elevates the richness—give it time to reach room temp for optimal creaming.
- Granulated sugar: For sweetness and just the right texture, be sure to cream it well with butter for fluffiness.
- Egg: Brings everything together and adds structure—I'll often use a fresh, free-range egg for best flavor.
- Vanilla extract: Deepens the aroma (pure vanilla makes a remarkable difference, so use the best you can find).
- Almond extract (optional): Adds subtle complexity—swap for citrus zest if someone at the table prefers a different vibe.
- Salt: A tiny pinch lifts the flavors—don't skip it, even if it seems small.
- Powdered sugar: The foundation of the royal icing; I sift it for guaranteed smoothness and lump-free magic.
- Egg whites or meringue powder: Essential for icing that's glossy and sets with a satisfying snap; meringue powder is great for peace of mind with kids.
- Lemon juice: Sharpening the sweetness, it gives the icing a clean finish.
- Gel coloring and edible gold luster dust: The stars of the show—the gold paint brings drama that regular icing just can't match.
- Clear alcohol (vodka or lemon extract): Used solely to make the gold paint—it evaporates quickly, leaving only glam behind.
Tired of Takeout? 🥡
Get 10 meals you can make faster than delivery arrives. Seriously.
One email. No spam. Unsubscribe anytime.
Instructions
- Cream and Combine:
- With an electric mixer, beat butter and sugar until pale and fluffy—it should sound soft and whispery. Add egg, vanilla, and almond extract and blend until dreamy and smooth.
- Stir and Chill:
- In another bowl, whisk flour and salt, then add to the wet mix in batches, scraping down the sides as you go. Shape dough into two discs, wrap snugly, and chill for at least half an hour—this keeps the cookies from spreading.
- Cut and Bake:
- Preheat your oven and roll dough to 1/4 inch on a floured surface; Taurus or zodiac cutters make this step extra fun. Transfer shapes to a parchment-lined sheet with gentle hands and bake until edges are barely golden, about 10–12 minutes.
- Mix Royal Icing:
- Beat egg whites or whisk meringue powder and water to soft peaks, slowly adding sifted powdered sugar until thick and glossy. Lemon juice and vanilla go in for brightness—separate and color as you wish, then load up the piping bags.
- Decorate Like Royalty:
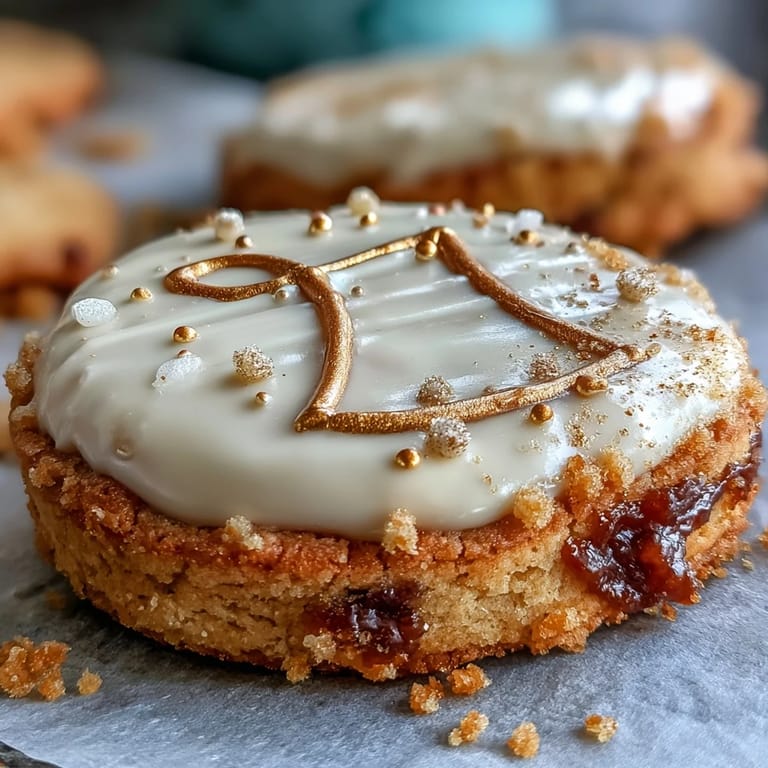
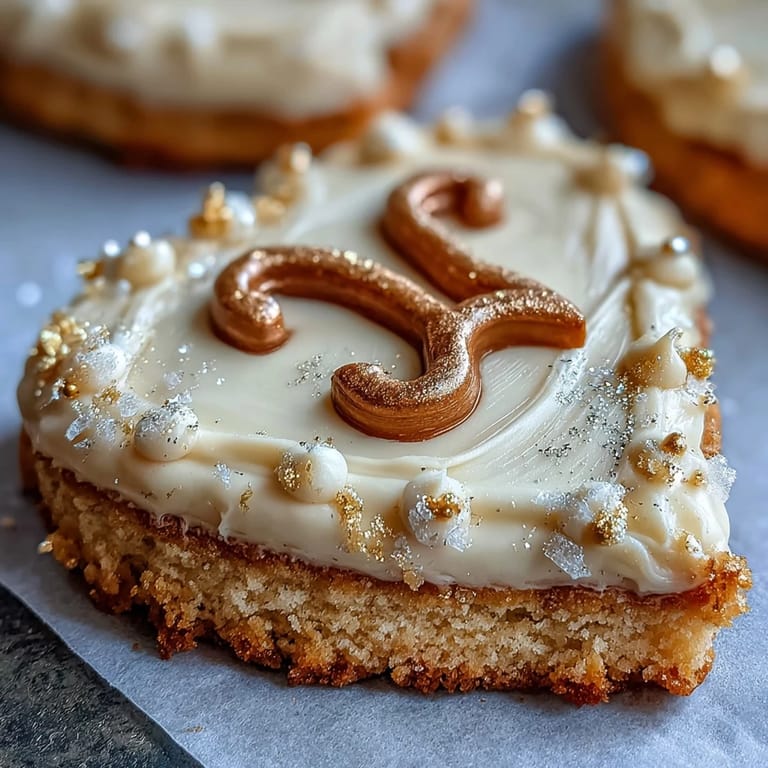
- Flood cooled cookies with base icing, letting them dry for a couple of hours until surfaces are matte. Paint on gold accents or Taurus motifs with luster dust mixed with clear alcohol using a tiny brush; give these details time to set too.
- Box and Celebrate:
- Arrange dried, decorated cookies in a gift box over parchment, adding a zodiac card or theme insert if you’re feeling festive. They’re ready to delight—just try resisting the urge to sneak one.
 Save
Save The first time a friend opened my homemade Taurus cookie box, her eyes lit up at the sparkling gold details, and everyone around the table suddenly wanted to know their zodiac sign. It felt like a gift that somehow went beyond dessert, sparking laughter and conversation late into the night.
Making Your Cookies Stand Out
Never underestimate the charm of thoughtful shapes and personal touches—a little constellation detail or color tint signals that you made these with intention. Adding a card about Taurus or a personality trait to each box always gets a smile; people adore the sense of story as much as the flavor.
Mastering Gold Royal Icing
Mixing luster dust with clear vodka takes a second, but painting smoothly over dry icing can be trickier than you’d think. Work in thin layers, letting each stroke dry, and try resting your hand on a steady jar to keep lines crisp as you brush the horns and stars.
Troubleshooting and Storage
Humidity can be a troublemaker with royal icing, making drying times unpredictable, so always leave extra time if your kitchen is damp. Store finished cookies in a tight tin with parchment, and tuck in a silica gel pack if you have one for extra crispness.
- If in doubt, let the icing dry longer before painting.
- Use disposable gloves to avoid gold fingers on your cookies.
- Avoid stacking cookies until every detail is completely dry.
 Save
Save There’s something quietly luxurious about sharing your zodiac in gold, one cookie at a time. These Taurus treats always seem to spark a bit of wonder, and I hope they do the same at your table.
Recipe FAQs
- → How long do decorated cookies keep?
Stored in an airtight container at room temperature, decorated cookies stay fresh 5–7 days. For longer storage, freeze unboxed cookies between layers of parchment and thaw gently before decorating.
- → How do I prevent royal icing from weeping?
Ensure egg whites or meringue powder are beaten to the correct peak and powdered sugar is well sifted. Avoid excess liquid; use lemon juice sparingly and let base icing crust before applying additional layers or paint.
- → Can I substitute almond extract safely?
Yes—swap almond extract for citrus zest or lemon extract to brighten flavor. If allergies are a concern, omit almond entirely or use a safe alternative extract.
- → How do I get a smooth flood finish?
Use piping to outline, then flood with a slightly thinner icing. Gently tap the baking sheet to release air bubbles and use a toothpick to coax icing into corners. Allow full drying time before adding gold details.
- → What's the best way to apply edible gold?
Mix edible gold luster dust with a few drops of clear alcohol (vodka) or clear extract to form a paint. Use a fine, dry brush and apply only after icing is fully dry to avoid bleeding.
- → Any tips for shipping a cookie box?
Layer cookies with parchment and secure with tissue to prevent shifting. Use sturdy boxes and fill gaps with crinkle paper; ship early in the week and avoid extreme temperatures to protect icing and gold detailing.